From VSCode to Panic Nova
5 minutes
With the surge of 100% free editors flooding the market that are built on Electron, it’s hard to justify jumping ship from tools like VS Code, Atom, etc. As Panic themselves say on the Nova website, “[…] Mac apps are a bit of a lost art.” As a developer that came from editors like Coda, Espresso, TextMate, and Sublime, this resonates with me heavily. I always loved the snappiness and responsiveness of native macOS editors.
About a week ago, I bit the bullet and bought a Nova license. It’s a one time fee of $99, with a yearly $49 (optional) fee to receive updates, with the first year of updates being included with the $99 purchase. I’ve missed the years I spent with the aforementioned native editors and seeing Panic continuing their craft fills me with joy and nostalgia.
The Switch
In the rest of this blog post, I’m going to give you a simple, straight-forward way to transition from VSCode to Nova and not feel like you have to re-learn everything. I’ve spent the time to dial in settings and interface configurations so that you don’t have to! This post assumes that you’ve either bought Nova, or are using the trial period to get to know it. Maybe you’re asking yourself “okay, now what?” I hope I can help.
The Basics
Some initial items to change and enable in the Preferences pane:
Editor
- Fonts — First and foremost, you’ll want to adjust your fonts for both terminal and editor views. Editor fonts are set under the “Editor” preferences tab, and terminal fonts are set under the “Terminal” tab. Pretty self-explanatory. Like previous Panic native editors, you’ll be using the system font selector, as opposed to editing a JSON settings file
- Enable “Minimap” — This will give you the minimap on the right that you’ve grown familiar with from Sublime Text and VSCode
- Editor Overscroll — Experiment with this one. I have it set to small
- Indentation — Adjust your indent settings as desired. I think Nova defaults to tabs but I’ve adjusted mine to 2 spaces (cue the “Tabs vs Spaces” debate)
- Indentation Guides — Nova defaults these to “Rainbow”, which is a nice touch
- Files — Make sure that “Show hidden files” is ticked. This is especially important if you have things like
.envfiles. You can also tick “Show ignored files” if it’s not enabled already - Ignored Files — This is located at the bottom of the “Files” view in the Preferences pane. This one is important. It tells Nova what to ignore in its file indexing. Adding
node_modulesis important because otherwise Nova will try to index that directory, which can result in a huge CPU usage spike. You can also add things like.cache,dist, etc.
Bonus Item
If you want the ability to open files and folders in Nova from the command line like you can with code in VSCode, here’s how to do it: in the Preferences pane, go to the tab “Tools”. The first thing you’ll see here is “Command Line Tool” — click “Install”. You can now do this:
cd some-dir/
nova .
Theming
There are already a ton of themes available for Nova. You’re bound to find one that suits your needs:

You can access this view by going to Preferences (CMD+,) > Themes. The “More Themes” button at the bottom of the Themes preferences view will bring you to the above Extensions window (if you’re a VSCode user, you’ll already be familiar with this extensions approach).
In addition to finding the right theme for your editor, you can also apply the desired theme to the Command Palette as well (more on that further down). To make the Command Palette match your theme, untick the box next to “Command Palettes” titled “Use a contrasting appearance.” This will make it dark or light based on your theme’s contrast. Learn more about the Command Palette.
Your Workspace
This was a large part of my assessment of Nova when initially getting into it. I’m very particular about my arrangement and was pleasantly surprised at how easy Nova makes this.
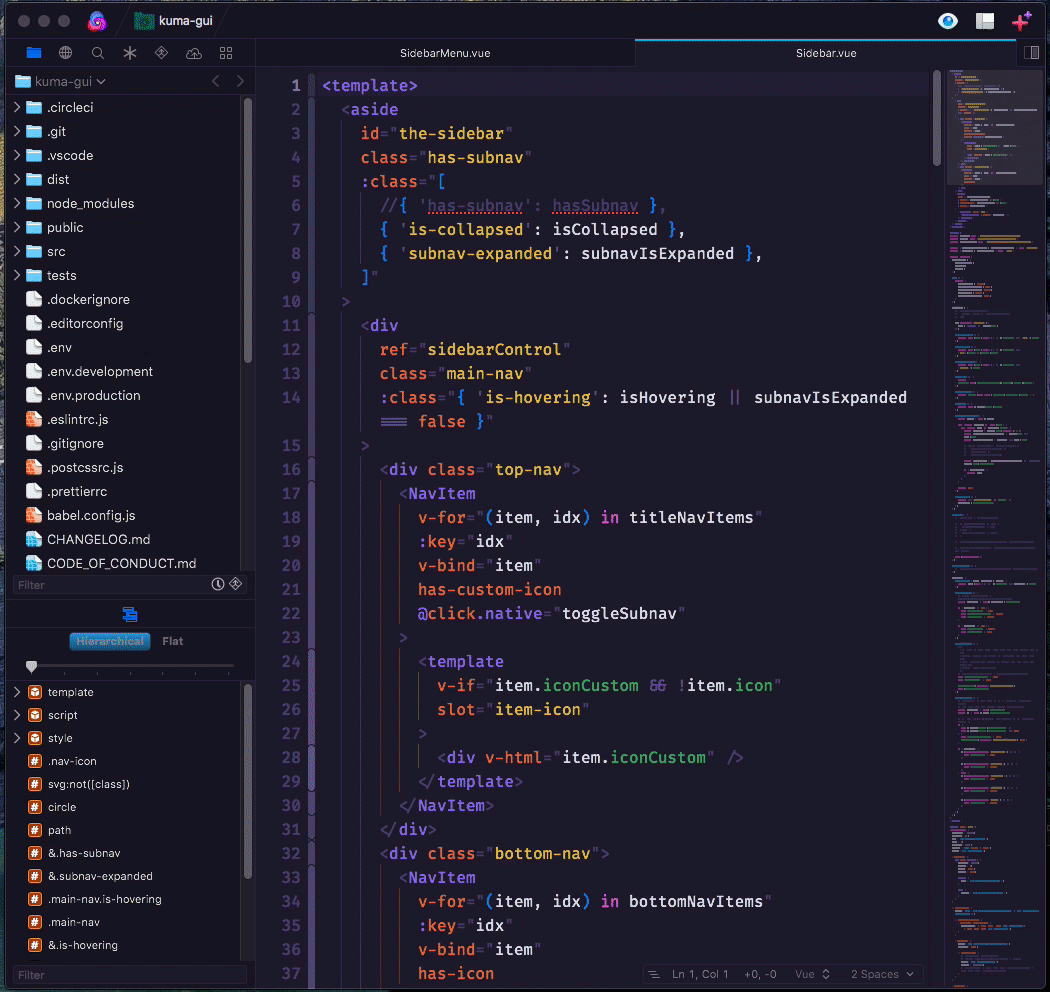
Nova’s interface allows you to drag panes around in the editor view. Similar to VSCode, Nova has a navigation bar comprised of icons. The difference in Nova is that this nav bar is horizontal above the file list, instead of vertical along the left side.
Similarly, editor views can be dragged into arrangements in the same way:
If you’re like me, in VSCode projects, you always have a Terminal view adhered to the bottom of the editor. While this is not identical in Nova, you can achieve the same thing by leveraging Nova’s new tab creator in the top right:
- Click the tab creator
- Click “Local Terminal”
- Drag the created Local Terminal view to the bottom of your editor to snap it into place
- Resize the view accordingly
Voila! Now you can run your project’s scripts from within Nova in the same way that you do in VSCode.
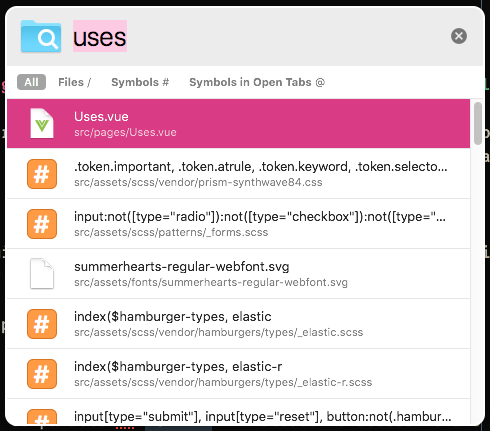
The Command Palette
The Command Palette in Nova is comparable to CMD+P in VSCode. To access Nova’s Command Palette, you can press CMD+SHIFT+O. This tool allows you to access files, Symbols, and Symbols in open files. It will become your best friend when Nova is in your daily arsenal.
Get Started!
I hope you’ve found this post helpful and are able to get started with Nova as quickly as I was. I’m extremely happy to be back on a native editor and love being able to support Panic. I’ve been using their products for almost my entire career as a Web Developer and Front-End Engineer, so it’s great to see them still running strong in 2020 (which is already a feat in itself).
Thanks for reading and happy coding!